Minggu, 14 Februari 2016

Dollhouse for Peaches Day 9 Part II

Day 9 - Part II - window and door trimThis is where the front starts to take shape. I am trimming around all the windows I previously cut out. I ripped the trim out of stock 3/4" maple, and rough sanded it before installing.You can see that I 45d the corners, and used masking tape to hold them in place while the glue sets up. This avoids the need for nails and a possible splitting of the material (I hate that when that happens)! Taping also allows me to adjust the corners as I need to in order to get a better fit. Then, when I do the final sanding, the corners should almost disappear!My speed square allows me to get the trim squared up with itself and the edges of the whole piece...

After the trim was on, I put the piece in place, just to see what its going to look like...

Sweet!

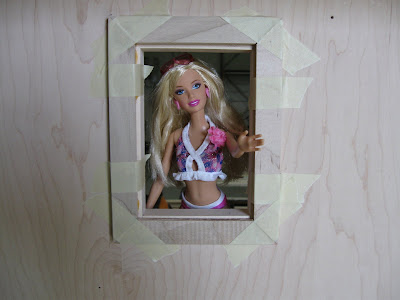
Of course, the main chick had to pay a visit and peak out the window...

Here are some shots after the tape is removed. The glue I am using (Elmers Probond stainable) sets up really fast, so I can de-tape quicker...

Im pretty close to being done with this project. I need to finish the door and front edge banding, and mount the face. Then, installation of the pillars. After that, itll be a day of final sanding, and this project is done!

Like I said before, if you are interested in having one of these custom made for your child or family, then email me right achoice so I can work this into the schedule. If you are thinking you want one for Christmas, dont wait - let me know now!

My email is: shadow0@bex.net

Related Posts by Categories

0 komentar:

Posting Komentar